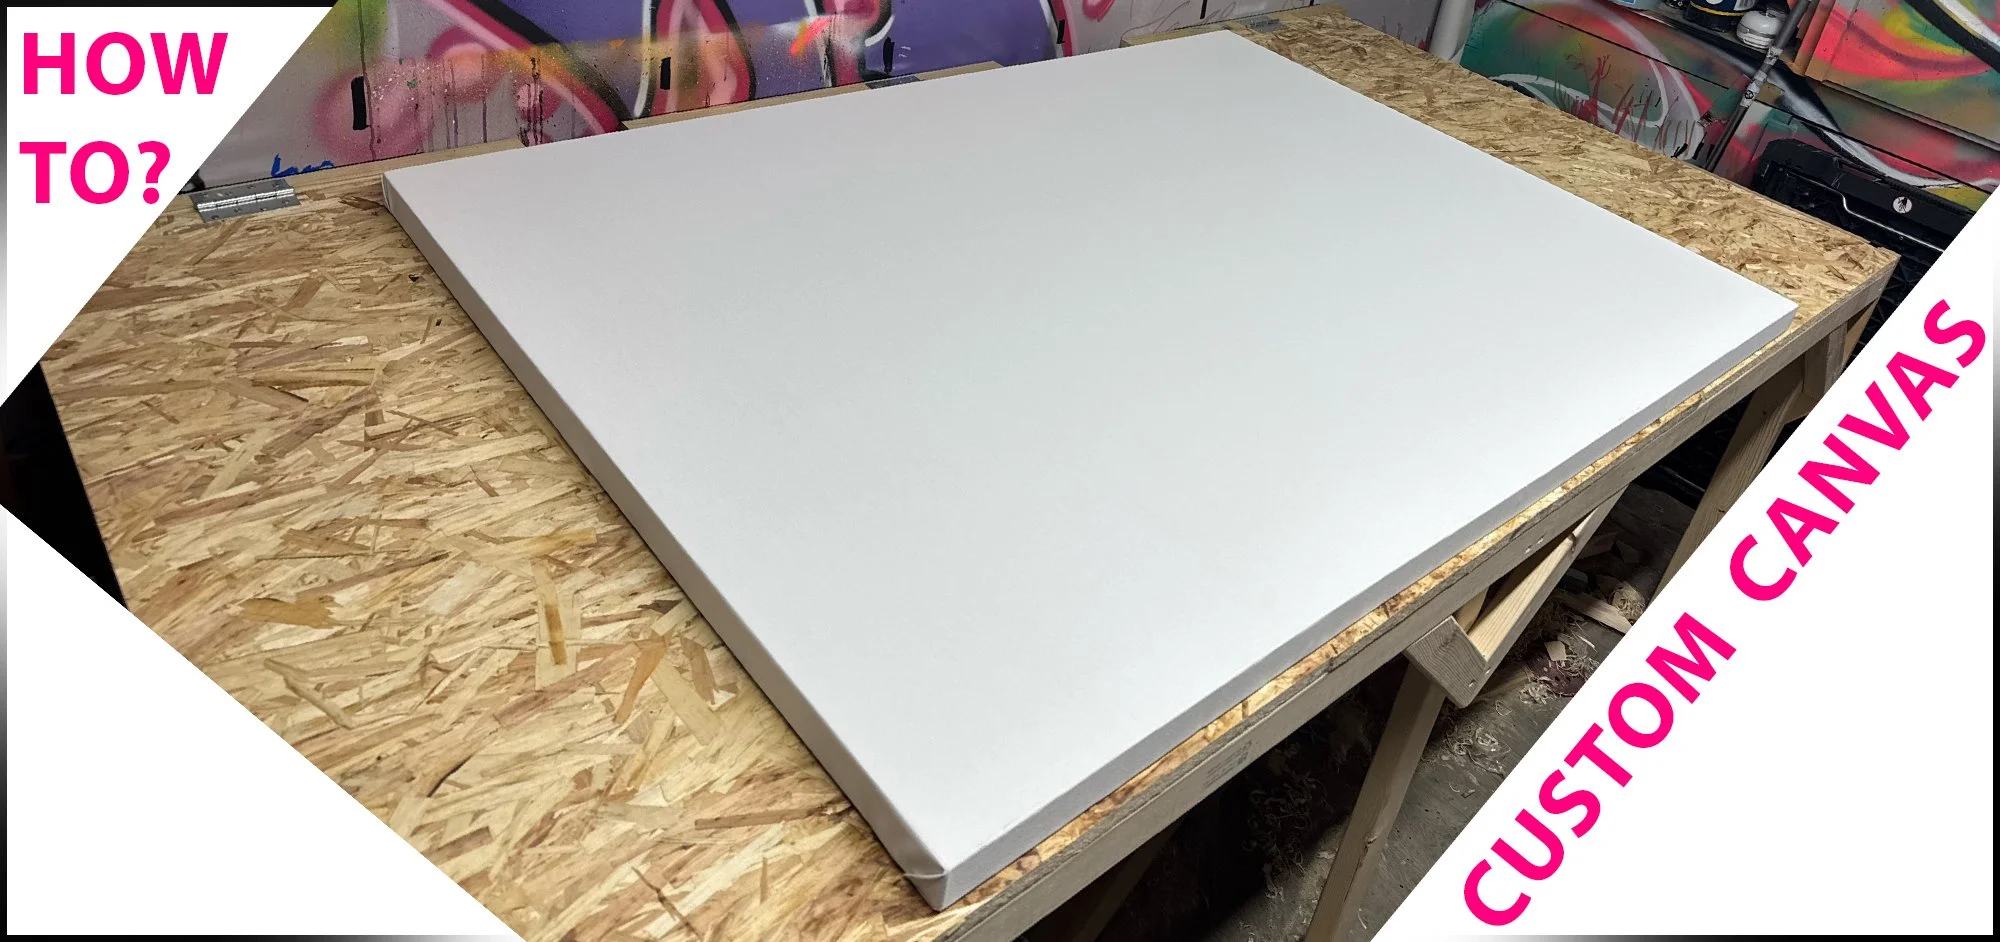
One of my clients asked me to build 3 custom canvases for his home cinema. So I thought I’d take you along and show you how to build one!
Here is a 1 minute video on how to build one! I couldn’t explain too much in a short video, so in this blog I’ll go a little deeper. https://www.youtube.com/shorts/XnzRqmOmAQI
Step 1
Decide on the wood and canvas you want. The cheapest and most accessible is pine. but you can use spruce, fir, beech and more. As for the canvas, you can use cotton or linen, they are the most common. And ideally primed. If you buy an unprimed canvas you’ll save a little bit of money but it will be a lot of effort to paint it properly and you’ll have to buy the paint for it. So it’s best to just get primed canvas. Also the thicker it is the more expensive it is. Usually if you pick the second or 3rd thinnest option, you’ll be set. If it’s think it will be harder to pull taut, and if it’s thin it may not look flat, and have some wrinkles. Decide with the tools you have available to you.
Step 2
Now that you have the materials, you’ll need to build the frame. You have 2 options:
Option 1, you’ll have to create some bevels on the inside of your frame so the canvas doesn’t touch the wood when you paint it, so it doesn’t show a border with the paint.
Option 2, you can create a simple frame, 90 degree angles in the corners if you are not able to cut 45 degree angles, and no bevels. Then you can paint the “loose“ canvas fabric pinned to your wall, then staple it to your frame afterwards.
So I won’t dwell to much on option 2 as it’s straight forward, cut 2 sets of 2 lengths for example 100cm x 2 and 70cm x 2 and screw them or nail them together.
Step 3
So you decided to cut a bevel or chamfer on the inside of your frame so the canvas fabric can hover. I can think of 3 tools for this. The first one is probably the best and also the tool that scares me the most, a router. I’m fine with a chainsaw and a circular saw, but that little bit spinning at 20,000rpm in it’s tinny collet always makes me nervous. I sold mine so I was left with 2 options (by the way if you decide to build your canvas, be careful and make sure you’re competent or you have adult supervision, don’t sue me!) So I could use my block plane or my circular saw, I opted for the circular saw because it was way quicker. This job is 3 custom canvases for a client and the biggest one is more than 2m wide, so the plane would have taken too long, but if you have time and you’re building a smaller canvas, a block plane is cheaper & safer.
So I built a simple jig as you can see in the video so I could feed the timber through and have the same angles without variations.
Step 4
Once that was done, I built a mitre box, but you can buy one or use a mitre saw if you have one, and cut the corners at 45 degrees. I used wood glue, and pins to hold everything in place while I drilled some holes not to split the timber, then added screws. You can skip the pins, but if you have a nail gun, why not. Also note that my table is square so I used it as a guide to clamp my frame to, while I was crewing it together so it wouldn’t warp.
When you buy a canvas, the frame is not glued on purpose so you can add those little wedges to pull the frame apart slightly to make the canvas more taut. But we’re not that fancy so we’ll allow it.
Step 5
Now that the frame is done, we’ll add the canvas fabric. Attach one side almost fully, not all the way to the corners, then do the opposite side while pulling the fabric as tight as you can. I have good grip strength being a former builder, but you can get a special pair of pliers that look like a hammerhead shark to pull the canvas if you like. I don’t know if I’m ever going to make more so I didn’t get one. PLEASE NOTE: if you are planning cover the canvas with a coat of paint before you start (as opposed to painting your artwork randomly) it will pull the fabric ever more taut. So allow a bit of slag or make sure your frame can take the extra pull without buckling. My big one started to warp so I laid it on the floor while it dried, so it could dry flat and true. Luckily it did the trick.
Anyway, so you’ve stapled or nailed one side, the opposite side, now do the third one and for the last one, you’ll have to pull quite a lot.
Now all you have to do is cut a bit of excess in the corners and staple the remaining fabric down. A heavy duty stapler and a big box of staple is very affordable and has many uses, I would recommend that over using nails that you hammer in one by one while holding the fabric as tight as you can.
THAT’S IT. Your canvas is done and now you can paint your artwork. I hope this was useful to you!
Feel free to support my work by buying a print or sharing this article or the video with your mates!
Olivierr.